Changing
Background Color
Here’s a quick tutorial showing how I change the background color (you never want your background color the same color as your object).
BTW, this is CS4, but I use Elements at home and this is a basic task so should be the same on any version of Photoshop.
Also, reading through the tutorial and experimenting the first time may take more than 20 seconds, but once you get it, you can easily do it on all photos in 10-20 seconds. Really. J
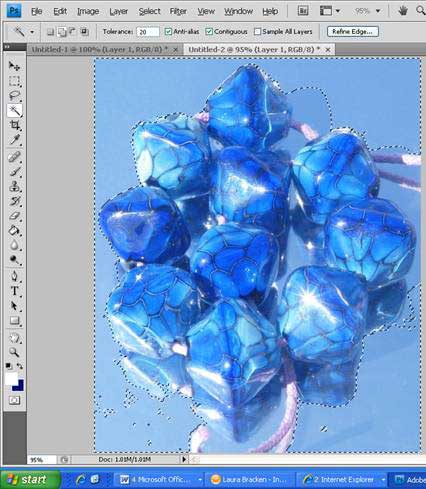
Okay, first I click on the magic wand.

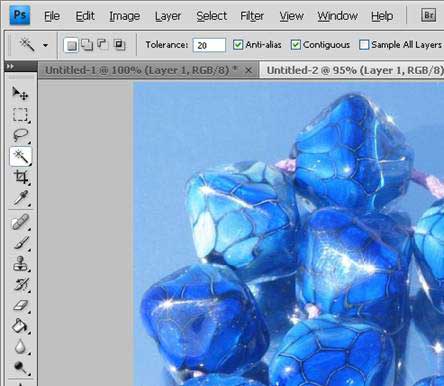
Then, because the blue background is a VERY similar color to the beads, I want to bring the “tolerance” a bit lower than usual (I usually use 32). So set tolerance to 20.

Then take the magic wand and tap it on an area of the background. It selects a section. You’ll notice it didn’t select the whole background (I tapped in the upper left corner).
It only selects areas that are touching where you tapped that are within the “tolerance” range (colors that are similar).
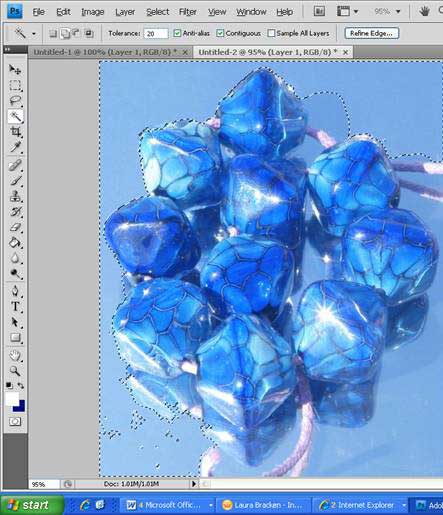
You are now going to hold down your CONTROL key while you make another wand tap in a second background area.
This time I tap in the lower right corner.
Continue to hold CONTROL down while you wand taps all the background areas.
If you tapped in a wrong place, or if your wand selected some beads rather than background, you can back out ONE STEP by hitting CONTROL+Z (on Elements) or CONTROL+ALT+Z (for full versions of Photoshop).
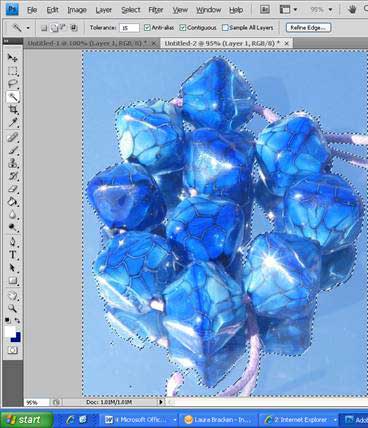
If you get to a point where there’s still some background to select, but you can’t get it without the wand also getting some of your beads, you need to lower the tolerance (I tried 15 here).
Don’t undo everything. Just undo (CTRL+Z) any step that grabbed a bead, lower your tolerance, and try the wand again (with CONTROL… or you will be starting over).
Don’t forget the little spaces of background that show through the middle of your item.
When you have all the background that you want, hit SHIFT+F6 (for Photoshop) or ALT+CTRL+D (for Elements).
This should bring up a FEATHER pop-up.
(Or “Select” then “Feather” from the pull-down menu)
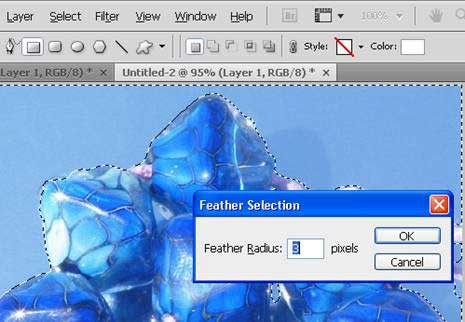
Put a 3 in the FEATHER box and click OKAY. You will not see anything change.
Hit CONTROL+U. This brings up the Hue/Saturation pop-up.
You can grab the pop-up box (by the top edge) and move it out of the way so you can watch how the next step affects your photo.
Take the SATURATION slider and move it toward the left. Then click OK.
You are de-saturating your chosen areas (the backgrounds you selected with the magic wand).
Most people photograph on white or gray backgrounds therefore de-saturating usually works fine. There are other ways to do this if your background wasn’t gray or white.


If you see areas you missed with the wand…

… just do a CONTROL+Z (or CONTROL+SHIFT+Z, depending on your version of Photoshop).
This undoes the last step, the de-saturation.
Your background should still be selected, just hold down CONTROL and touch the new areas you noticed hadn’t been selected originally.
Re-feather and de-saturate again.
If you like what you see, you can remove the marching ants by hitting CONTROL+D.
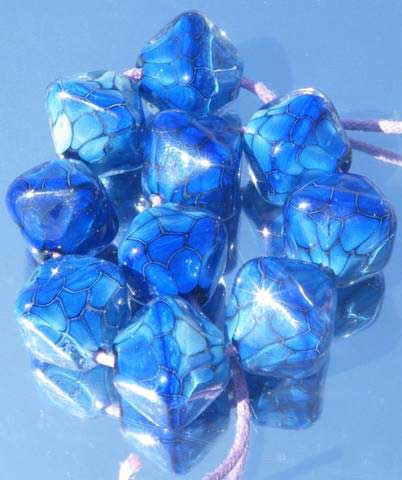
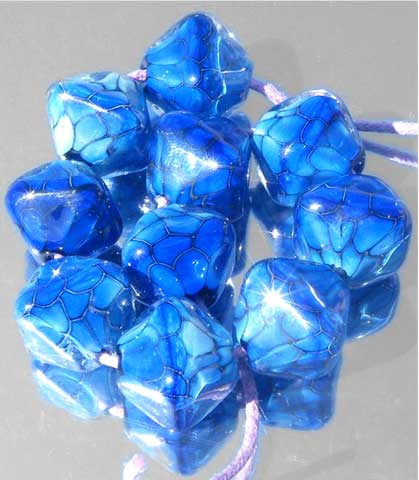
Before and after.